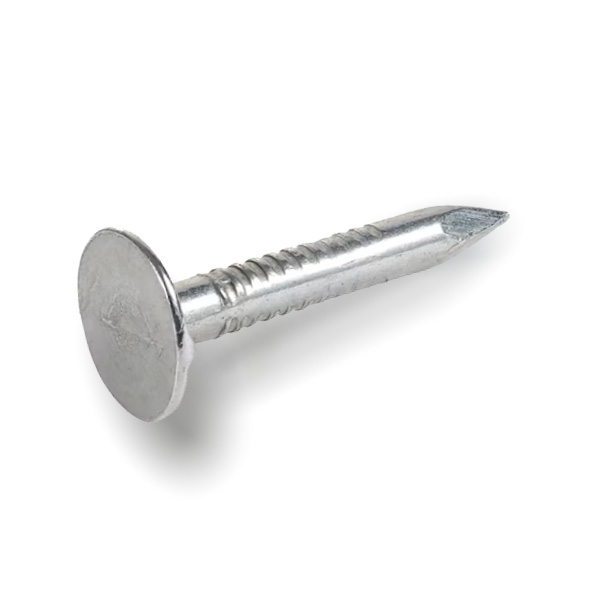
Slim Design HDD SSD Mounting Bracket Kit: Support 2.5" Hard Drive and NVMe M.2 Laptop SSD" "Download Free STL File for Raspberry Pi 4 Super Silent Case" "A Guide to Disassembling HP Envy 15t ae100 Inside Your Laptop" "Expert Advice on Replacing the Optical Drive from an Apple Tech" "Mounting Screws for WD4000FYYZ: QNAP NAS Community Forum Discussion" "Review of Intel 311 Larson Creek 20GB SLC SSD: Page 3 of 6

By:Admin on 2023-06-20 05:45:25

When it comes to mounting SSDs, having the right screws is crucial. In this blog post, we will explore the different types of SSD mounting screws available and their importance in securing your storage devices.One popular option is the slim design HDD/SSD mounting bracket kit that supports 2.5" hard drives. This kit is perfect for those looking to upgrade their existing hard drive to a more efficient SSD. It comes with all the necessary screws and brackets to securely mount your SSD in place.For those who own a laptop with an NVMe M.2 SSD, a specific type of screw is required for mounting. The M.2 laptop SSD mounting screw is compatible with SSDs from brands like Samsung and Crucial. This tiny screw ensures that your SSD is firmly fixed inside your laptop, avoiding any potential damage from movement.If you are a Raspberry Pi enthusiast, you might be interested in the super silent case. This case is specially designed to house the Raspberry Pi 4 and comes with a free download of an STL file. The included M2 screws are essential for installing and securing your Raspberry Pi inside the case, providing a neat and organized setup.For those wondering how to disassemble an HP Envy 15t-ae100 laptop, it's important to know which screws are involved. Taking apart a laptop requires careful attention to detail and the right tools. Inside the laptop, you'll find various screws, including those that secure the optical drive. If you need assistance with this process, we recommend seeking advice from a professional technician or referring to specific disassembly guides.In certain cases, you may need to replace the optical drive on your laptop. An Apple tech expert provides advice on how to accomplish this task. Replacing the optical drive requires removing screws that hold it in place, along with disconnecting cables and carefully handling delicate components. It's crucial to follow the recommended steps to avoid damaging your laptop during the process.The correct screws play a significant role when it comes to securely mounting your SSD. Whether you're building a NAS or looking to upgrade your laptop or Raspberry Pi, using the appropriate M2 screw is essential. These screws ensure that your SSD is firmly attached and functioning optimally.In conclusion, having the right SSD mounting screws is crucial for a successful installation. Whether you're using a slim design HDD/SSD mounting bracket kit, an NVMe M.2 laptop SSD mounting screw, or screws for Raspberry Pi cases, it's important to choose the correct screws for a secure fit. Additionally, knowing how to disassemble and replace components like the optical drive in laptops requires careful attention to detail and proper screw removal. By following these guidelines, you can ensure a smooth installation process while protecting your valuable storage devices.

Read More

How to Remove a Door Knob Without Screws: Tips and Tricks

By:Admin on 2023-06-20 05:44:15

: How to Remove a Door Knob Without ScrewsRemoving a door knob can be a task that seems daunting at first, especially if you’re facing an old knob that has no visible screws. It’s a good thing that we have some tips and tricks for you to follow that will help you get that old knob off in no time.First, let’s discuss the door knobs that don’t have visible screws at all, such as vintage knobs. If you’re dealing with this kind of knob, then you’ll need a flathead screwdriver or something with a thin, sturdy edge. Before you attempt to remove the knob, you need to look at the backplate and locate the small slot or hole that is usually found in the center. This is where you will insert your tool, and gently twist it until you feel the knob set free. If it doesn’t budge, then you may want to wiggle it around to loosen it up, and then try again.Another type of door knob that doesn’t have visible screws is the Schlage brand. In most cases, these knobs are equipped with a push button release that you will need to find and press. This can usually be found on the collar of the knob, and once you press this button, you can pull the knob off the spindle.Next, let’s talk about the door knobs that do have screws, but they’re hidden. These types of knobs are usually designed to have a more seamless, cohesive look. So, if you’re not sure where to begin, you need to look for a small notch or gap around the collar of the knob. This is the area where you should insert a small flathead screwdriver into, and gently twist to loosen up the hidden screws. Once they’re loosened, you can slide the knob out of place.Finally, if you’re dealing with a knob that has a visible set of screws, but they’re hard to find or access, then you might want to use a drill to create a small hole near the hidden screws. This will give you better access, and you can use a screwdriver to remove the screws once you locate them.With these tips and tricks, you’ll be able to remove any door knob without screws with ease. All it takes is a bit of patience, and a little bit of elbow grease. So, take your time, and you’ll be rewarded with a knob-free door in no time!Keywords: Door Handle Screws, Remove Door Knob, Vintage Door Knobs, Schlage, Hidden Screws.

Read More

Discover Stunning Asphalt Nail Art Photos from Talented Artists

By:Admin on 2023-06-20 05:43:53

Nails For Asphalt: How to Get Trendy Asphalt Nail ArtNail art is the perfect way to show your creativity and style. Whether it’s a simple design or an intricate pattern, you can enhance the beauty of your nails with some amazing art techniques. One of the most popular nail art trends of recent times is the asphalt nail art. It is a unique and edgy style that can make your nails look trendy and fierce.As the name suggests, asphalt nail art is inspired by the texture and color of asphalt. It involves creating a textured and uneven surface on the nails that resembles the roughness of the road. Here are some tips on how to get the perfect asphalt nail art:Choose the Right ColorsThe first step in getting asphalt nail art is to choose the right colors. You can select shades like gray, black, and dark brown that resemble the color of asphalt. You can also experiment with metallic shades like silver and gold to add some shine and texture to your nails.Create the TextureThe key to getting the perfect asphalt nail art is creating the texture. You can use a variety of techniques to achieve the texture. One of the most popular methods is to use a sponge to dab the nail polish onto the surface of the nail. You can also use a toothbrush or a nail art brush to create the texture. Just make sure that the strokes are uneven and random to resemble the look of asphalt.Add some DesignsOnce you have created the texture, you can add some designs to make your nails look unique and trendy. You can use stencils or freehand techniques to create patterns like stripes, crosses, or geometric shapes. You can also use glitters and rhinestones to add some bling to your nails.Maintain the NailsAsphalt nail art can be quite challenging to maintain as it involves creating a textured surface on the nails. You need to make sure that you take good care of your nails to prevent them from chipping or breaking. You can apply a top coat to protect the design and keep your nails looking beautiful and shiny.In ConclusionAsphalt nail art is a unique and edgy style that can make your nails look fierce and trendy. It involves creating a textured and uneven surface on the nails that resembles the roughness of the road. You can choose the right colors, create the texture, add some designs, and maintain the nails to get perfect asphalt nail art. So, next time you want to get some trendy nail art, try the asphalt nail art and show off your creative style!

Read More